
Empower remote workers
with the full office experience working from anywhere
Features
Cloud Desktop
Provide your users with a dedicated desktop environment each. The environments are cloud based, 100% secure and accessible from any device.
Share desktop apps with others
MyQuickCloud application sharing allows you to share your desktop apps with colleagues, allowing you to work on them at the same time without disruptions.
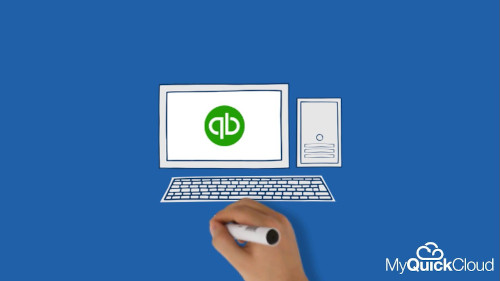
Take your desktop apps anywhere
Use your desktop apps anywhere, on any device, with MyQuickCloud enhanced remote access. Access your whole desktop, selected apps or create a virtual computer.
Bring your own device
If you already have a server or a computer you want to use as your cloud, you can just add it to your cloud and collaborate with your other users on it.
FAQs
Can more than one user access the same applications simultaneously?
Absolutely. Multiple users can all work together without seeing what one another is working on.
Do I need a separate user for each of my devices?
Nope! You can pick up on your mobile device where you left off on your desktop with the same login.
Where can I learn more about cloud servers?
To learn more about our managed cloud servers take a look at our dedicated guide!
Is it easy to set up?
Yes, with our easy to follow online set up process, anyone can get started with MyQuickCloud.
Is it secure?
Yes! Everything is sent through an encrypted SSL connection and your data never actually leaves your host computer
What’s your support like?
Great! We’re very proud of our support team. Read our testimonials below.

Don’t just take our word for it
Whether you are an accountant working remotely, a startup looking to create a secure digital workspace or want to sync your business across multiple locations. MyQuickCloud helps you to simplify working digitally.
Why not speak to a member of our friendly Sales Team
Learn more
We offer two great solutions for businesses looking to work remotely. Our product page helps you pick the solution that is best for you.
How much does it cost?
No one likes to be hit with surprise fees, which is why we have made our pricing structure as clear as possible. No contracts, no support charges and no hidden extras.
Start free MyQuickCloud trial
5-minute setup, test out MyQuickCloud for 7days, no credit card required